Homemade Kumquat Marmalade
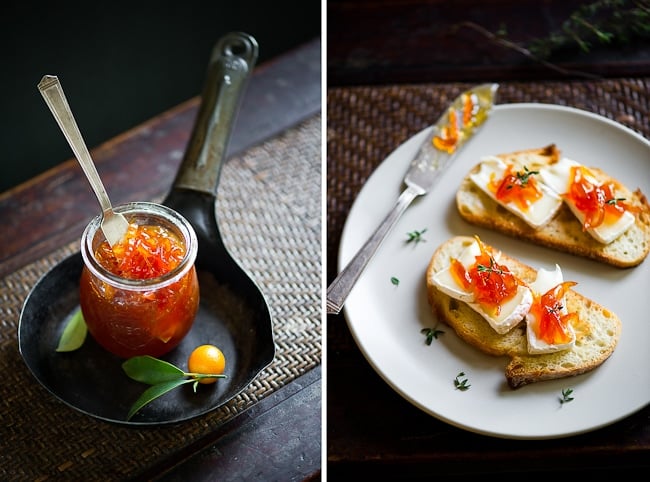
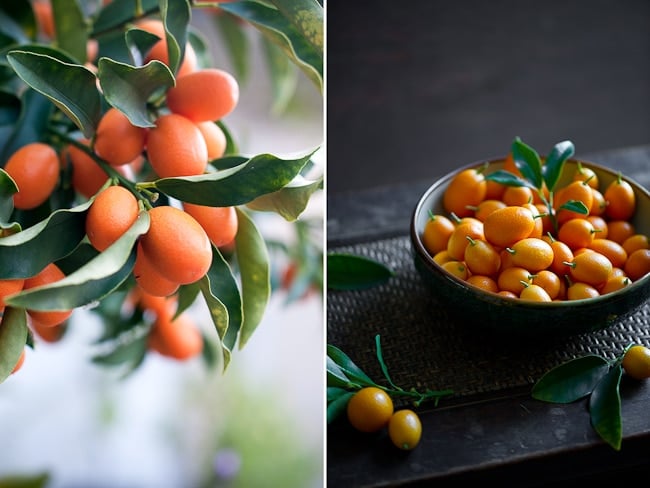
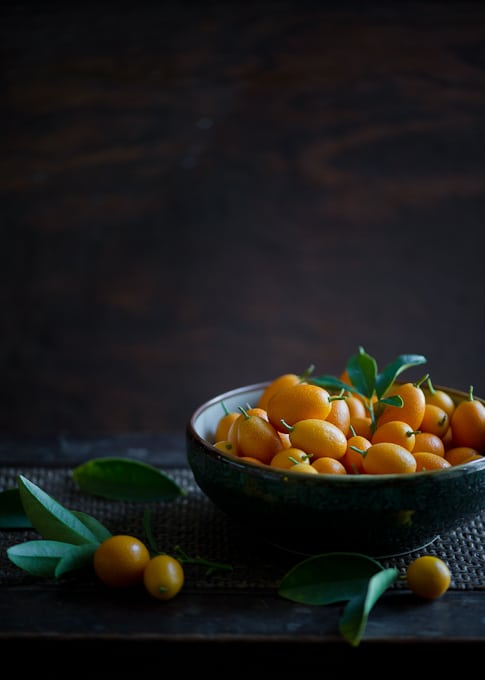
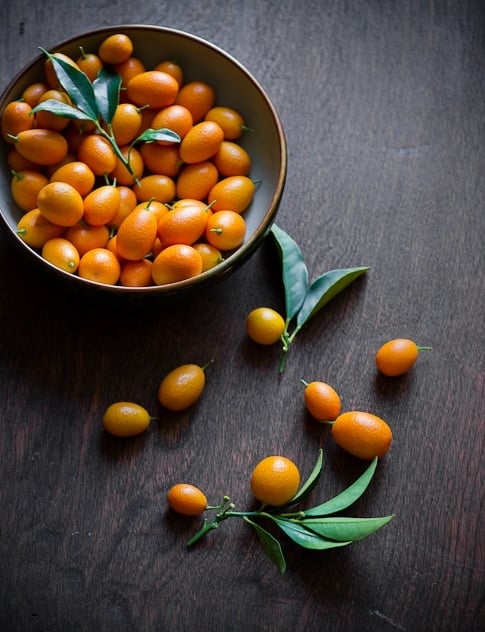
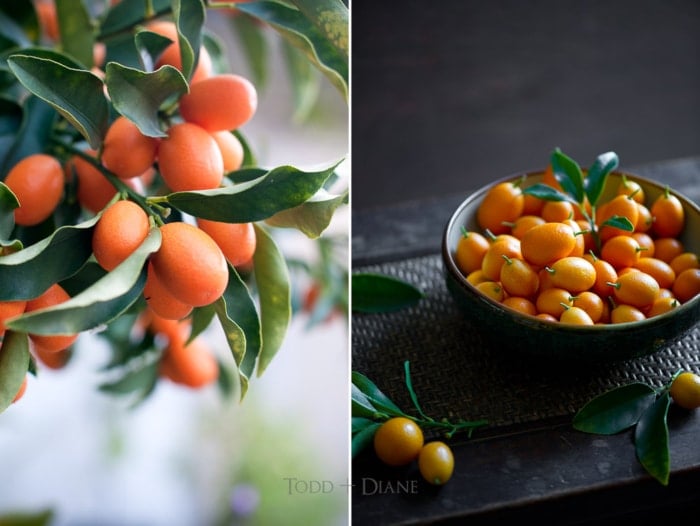
Our homemade kumquat marmalade recipe is great when you have fresh kumquats. The flavor and freshness is incredible. We originally shared this recipe all the way back in 2011 and we still use it every season. When our kumquat tree is exploding, it’s time to make a lot of jars to share.
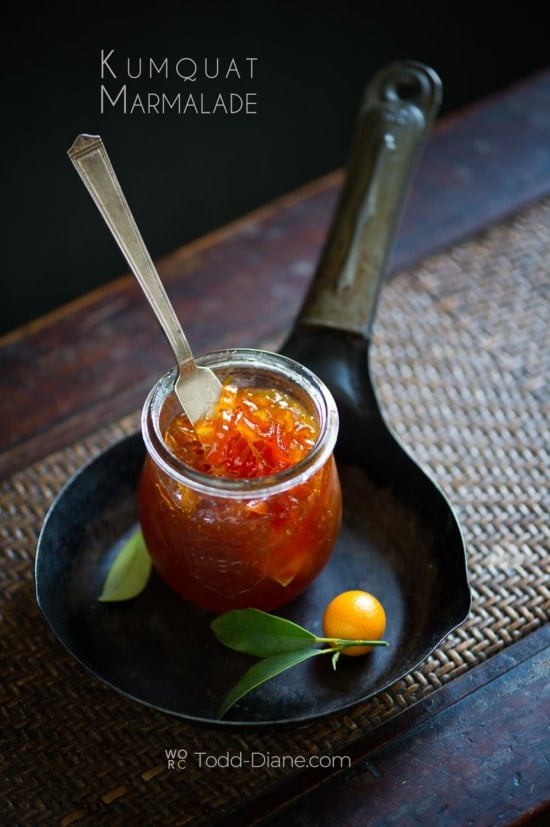
Homemade Kumquat Marmalade
If you can get your hands on some fresh kumquats, then put this kumquat marmalade recipe at the top of your list. In our garden loaded with citrus, we are always searching for ways to utilize their delicious bounty. Beyond cocktails, there is always one recipe we go to the most: kumquat marmalade. If we are down to our last jar, and the tree doesn’t have a some ripening kumquats, we get a little nervous. Time for careful rationing. The flavor and texture is just so perfect. A complex taste of citrus sweet with a tinge of tart and bitter. The softened, delicate kumquat rinds are perfectly suspended within the marmalade jelly. It is so good!
Video: Recipe for Homemade Kumquat Marmalade

How to Know when the Marmalade is Set
Always getting the perfect consistency to the kumquat marmalade was one of our biggest struggles. The thickness hot is much different when cooled. Should you guesstimate the syrupy-ness of the boiling marmalade, use chilled spoons to quickly cool some off to see its approximate thickness, or rely on temperature to figure the setting point? Spoiler alert – temperature rules.
- Using Chilled Spoons? Originally, when cooking marmalade we would determine the setting point by freezing some spoons. When it looked about right, we would put a little marmalade on the spoons and quick quick chill some to see if it set to the desired consistency. It would get us close, but never precise. Most of the time it would end up a little too firm or too runny when it cooled. We’d then reheat the marmalade to add water or boil a little off to get it just right. If we made back to back batches, it was easier to recognize the visual cues and get the following batches correct. But we make the marmalade when the tree has ripe fruit, so that means we are making it only a few times a year. Little details are often forgotten the next time making a batch months later. One day it dawned on us that making marmalade was similar to making caramel, with the cooking temperature of the jelly (just like caramel) equates to a particular texture when cooled. As the water boils off, the temperature increases and the marmalade gets thicker. Find the right temp, and you’ll consistently find the right texture you like.
- Using temperature is the best method for knowing when marmalade is set. After finding our preferred temperature, we get it perfect every time.
Using Temperature to Determine Marmalade Setting Point
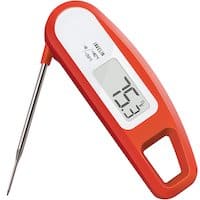
Never make your marmalade too runny or too thick again. Using an Instant Read Thermometer or Candy Thermometer makes getting a particular thickness so much easier and consistent. Cook the marmalade in the 217°F (103°C) to 221°F (105°C) range. With each degree, the texture will be thicker and the flavor will change from a brighter citrus to a more caramel like flavor. If you go much above the 221°F temperature, the marmalade will start to get burnt and the peel will start to get chewy. On side note, cooking at elevation will change the temperature of the set point. Higher elevations will set at lower temperatures. Water boils at a lower temperature at elevation, so depending on your elevation, it will set at the following consistencies 1-2°F less (ex – if you like it at 218°F at sea level, 216-217°F .
- Make sure to stir just before measuring temperature to get an accurate reading. And don’t have the probe on the bag holding the seeds. The bag surface will be different than the marmalade, giving you an inaccurate reading.
- 217°F – a more fluid set. Drippy and fluid, it won’t hold shape, but the citrus flavor is the brightest.
- 218°F – This is our favorite consistency. It is a little more set. Begins to hold shape but still has some fluidity. The flavor is great (bright, full kumquat flavor), and it isn’t too firm. The fluidity of similar to a nice honey.
- 219°F – Starts get set as a thicker jelly. Will barely run if tilted.
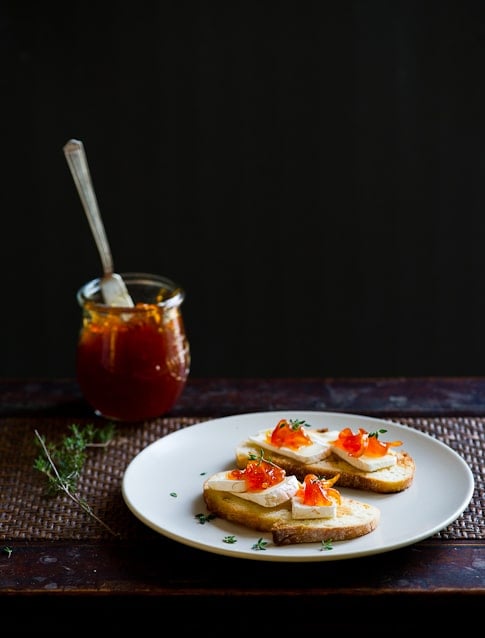
- 220°F – This is considered the jelling point. Holds shape will only the slightest oozing. The flavor starts to develop more caramel overtones and less bright citrus (some of the photos of the kumquat marmalade on the crostini and brie were probably cooked to this temperature).
- 221°F – Very thick. Holds shape and even more caramel tones. We find this texture more on the rubbery side.
Other Ways to Know When Marmalade it Set
If you don’t have a thermometer, you can still get a perfectly set marmalade. It might take a bit of experience to consistently get it how you like it, but the traditional ways still work great.
- The Visual – experience jammers will know the right thickness by sight. The bubbles have a certain viscosity. The pop a little slower and form with a bit more effort. It is hard for a beginner to know exactly what to look for, but after making many marmalades and jams and if details are paid attention to, one can know it by feel.
- Frozen Spoons or Plates (aka – the Wrinkle Test) – this is how we used to test marmalades and were fairly successful. There is still a bit of guesswork, but it will get you close. Place a few spoons or a plate in the freezer while you cook the marmalade. When you think the consistency it close, place a dollop of the hot marmalade on the frozen spoon or plate. Place it back in the freezer for a minute, then push the marmalade with your finger. If it wrinkles nicely, it should be done. If it is too fluid to wrinkle, continue cooking the marmalade. After a bit of experience, you’ll know the amount of wrinkle is perfect for you.
Is Pectin needed to make Kumquat Marmalade?
Not at all. Kumquats (like most citrus) are naturally high in pectin, with the seeds having the highest concentration. By using the them in the cooking process, no additional pectin is needed.
How to Fix a Marmalade that is Too Runny or Too Thick
Want a different texture than what you initially cooked? No problem. It happened to us all the time before we started using temperature to find the setting point. The fix is very easy. Just re-boil the marmalade. If too thick, add a bit of water and bring it to a boil again. Cook it to a slightly lower temperature or thinner texture than what you did previously. If initially too runny, bring it to a boil and cook to a slightly higher temperature or thicker texture that what you initially did. Soon you’ll know exactly what your perfect texture is. Afterwards, place the marmalade in freshly sterilized jars.

How to Store the Kumquat Marmalade
Always begin with sterilized jars and lids. Anything stored for an extended period needs to be clean and free of bacteria. Most people will then can using a water bath method. We take a bit of simpler approach. After filling the jars and closing the lids, we will immediately stand the jars upside down. The heat from the marmalade will warm the lid seal. After about 5 minutes we will turn the jars upright again. As the marmalade cools, the lids should “pop” down. If they don’t you might need to do a hot water bath to fully seal the lids. Canning jars will vary from brand to brand, see the manufacturer instructions from your specific brand for best results.
Tools Needed to Make Marmalade
Our Kumquat marmalade recipe doesn’t need many tools, but there are a few which we love and find are worth having in the kitchen. These are ones which we find have many uses in the kitchen and we love.
This has become a must have in our kitchen. Reads quickly.
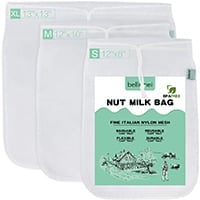
Instead of making a bag with cheesecloth, these are our favorites in the kitchen.
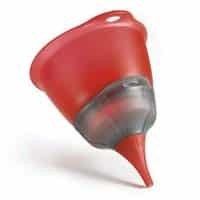
This 3-in-1 funnel set is the best. Favorite funnel by far.
Kumquat Marmalade Recipe
Ingredients
- 1 pound (454 g) Kumquats
- 3 cups (710 ml) Water
- 1 2/3 cups (340 g) Sugar
Equipment
- Instant Read Thermometer optional but highly recommended
- Nut Milk Strainer Bag or Cheesecloth
Instructions
Day 1
- Slice the kumquats in half lengthwise.
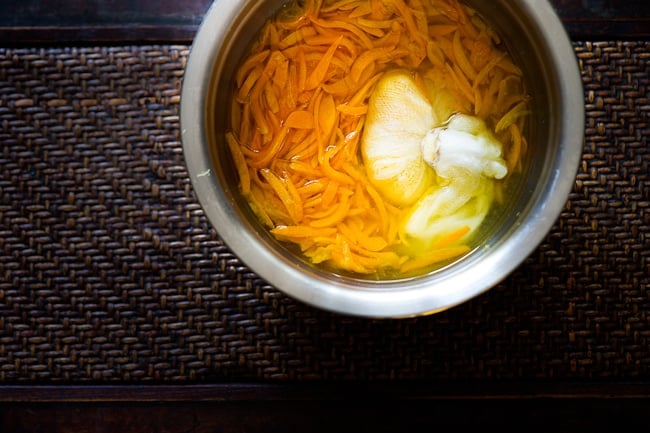
- Over a large bowl covered with a mesh strainer (or saucepan if not soaking overnight – see headnote) , squeeze the kumquats and rub back and forth between your fingers. This will help loosen the fruit segments from the rind. Remove segments from rind. Place the fruit segments and seeds in the the mesh strainer and set aside rinds to be sliced.
- After squeezing and separating, wrap the kumquat segments and seeds from the mesh strainer in a nut milk strainer bag or bundle with cheesecloth.
- Slice kumquat rinds into thin strips. We usually cut them between 1/8"-1/4" wide, but cut to whatever width you prefer.
- Combine the wrapped segments & seeds bundle, sliced rinds, and kumquat juice all into the large bowl (or saucepan). Pour in the 3 cups (710ml) of water (add the 1 2/3 cups (340g) sugar too if not soaking overnight). Cover and set aside in refrigerator for about 8 hours to soften the kumquat rinds (you can optionally skip this soak and go straight to adding the sugar and cooking the marmalade. The rind will be a little firmer and a touch more bitter, but still delicious).
Day 2
- Optional if Not using a thermometer to determine set point of marmalade, set 5 spoons in freezer for testing marmalade. See note at end of recipe for remaining instructions for making the marmalade without a thermometer.
- Put all of previous day's contents (liquid, rinds, and segment/seed bundle) into a saucepan (make sure it is big enough to accomodate the boiling up). Stir in the 1 2/3 cups (340g) sugar.
- Bring contents up to a boil. Reduce heat to medium and boil with medium vigor for about 35-45 minutes, but it may take longer depending on your heat, pan, and quantity of kumquats. Stir occasionally to prevent the marmalade from burning.
- Test the marmalade. When the bubbles start the slightly thicken, begin checking the temperature of the marmalade to determine your desired set point. Set point will be between 217°F-221°F (103°C-105°C), see note below for description of set points. Our favorite is 218°F (103°C). Each time you measure the temperature, make sure to stir just before measuring temp. for accurate readings. And don’t have the probe touching the bag holding the seeds. The bag surface will be different than the marmalade, giving you an inaccurate reading.
- Pour kumquat marmalade into the canning jar(s) and process according to manufacturer’s instructions (it is easiest to use a canning funnel). Most people will can using a water bath method. We personally use a simpler approach. After filling the jars and closing the lids, immediately stand the sterilized jars upside down. The heat from the marmalade will warm the lid seal. After about 5 minutes turn the jars upright again. As the marmalade cools, the lids should “pop” down. If they don’t you might need to do a hot water bath to fully seal the lids.
Notes
Temperatures for Different Marmalade Set Points
Make sure to stir just before measuring temperature to get an accurate reading. And don’t have the probe on the bag holding the seeds. The bag surface will be different than the marmalade, giving you an inaccurate reading.- 217°F (103°C)– a more fluid set. Drippy and fluid, it won’t hold shape, but the citrus flavor is the brightest.
- 218°F (103°C)– a little more set. Begins to hold shape but still has some fluidity. This is our favorite consistency. The flavor is great (bright, full kumquat flavor), and it isn’t too firm. The fluidity of similar to a nice honey.
- 219°F (104°C)– Starts get set as a thicker jelly. Will barely run if tilted.
- 220°F (104°C)– This is considered the jelling point. Holds shape will only the slightest oozing. The flavor starts to develop more caramel overtones and less bright citrus.
- 221°F (105°C)– Very thick. Holds shape and even more caramel tones. We find this texture more on the rubbery side.
Old Instructions
DAY 1:
-
Slice the kumquats in half lengthwise. Over a bowl covered with a mesh strainer, squeeze the kumquats and rub back and forth between your fingers. This will help loosen the fruit segments from the rind. Remove segments from rind and set both aside.
-
After squeezing, wrap segments and seeds from the mesh strainers in cheesecloth. Slice kumquat rinds into thin strips. Combine cheesecloth bundle, rinds, and kumquat juice all into the same bowl, and add the 3 cups of water. Cover and set aside in refrigerator for at least 12 hours to help soften the kumquat rinds.
DAY 2:
-
Put 5 metal spoons in a flat part of your freezer for testing the marmalade at the end of it’s cooking.
-
Put all of previous day’s contents (liquid, rinds, and cheesecloth bundle) into a medium saucepan. Stir in the sugar.
-
Bring contents up to a boil. Reduce heat to medium and boil with medium vigor for about 45 minutes, but it may take longer depending on your heat, pan, and quantity of kumquats. Stir occasionally to prevent the marmalade from burning.
-
Test the marmalade.Remove it from the heat and put half a spoonful in one of the frozen spoons. Put the spoon back in the freezer for 3 minutes. Then remove and feel the bottom of the spoon. It should feel neither hot nor cold. If still warm continue freezing for another minute or so. Tip the spoon to see if the marmalade runs. If the top layer has set to a jelly consistency it is done. If it runs, continue cooking for another few minutes and test again.
-
When finished cooking, skim off any surface foam. Let the kumquat marmalade rest for 10 minutes. Pour marmalade into one jar. Wait for a moment to see if rinds float to the top. If so, let marmalade rest for another 5 minutes. If not, then pour kumquat marmalade into the rest of the jars and process according to manufacturer’s instructions.
Video
Nutrition Information per Serving
What to serve with Kumquat Marmalade

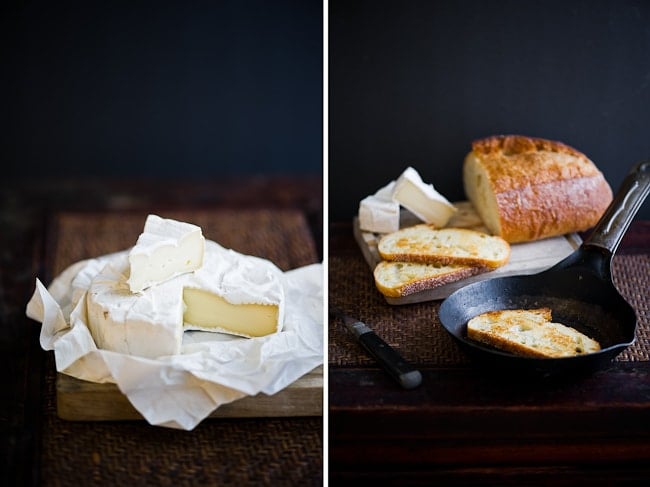
We’ve been making this recipe for years. We originally wrote about it in 2011. Back then, we found the kumquat marmalade was a perfect topping for Brie cheese and some grilled or toasted bread slices. Pasteurized Bries often tend to be a little boring, and the kumquat marmalade brought life to the cheese. Since then, we’ve found so many other things we love it on. Plain yogurt with a little kumquat marmalade it a morning staple for us. Here’s a few of our other favorites to add the marmalade to:
- Any soft, buttery cheese like Brie, Camembert, fresh mozzarella, Epoisses, soft goat cheeses, Saint-Andre cheese, other triple cream cheeses, etc. Add another great texture layer by serving the kumquat marmalade topped cheese on slices of grilled or pan-fried bread.
- Breakfast: Over plain yogurt or in a parfait. We rarely buy flavored yogurts anymore. Adding a spoonful of the marmalade on a bowl of plain yogurt is true delight.
- Ice cream. A dollop of this marmalade over vanilla ice cream is AMAZING.
- Coconut shrimp. Instead of the usual sweet & sour sauce, use a bit of kumquat marmalade.
- As a sauce on fish, pork, or chicken.
- Topping for cheesecake. Plain cheesecake just became insane.
- Anytime you’d use a jam (PB&J’s, on toast, etc…) A peanut butter and kumquat marmalade sandwich is amazing.
- Charcuterie or Cheese Board: Add a small bowl of this to your appetizer spread and it’s a great addition for a touch of sweetness. It also is great with some nuts.
- If you have any favorite uses for your kumquat marmalade recipe, we’d love to hear it.

Recommendation for Jam Inspiration
For anyone interested in jamming, we occasionally find inspiration in the The Blue Chair Jam Cookbook. The instruction is fascinating and thorough. The recipes are exciting, seasonal and useful throughout the year. She lays the foundation for the user to understand the principles then have the freedom to impart their own vision into their preserves. And her recipes are inspiring and drool worthy. The book is laid out based on the seasons, perfect for the home gardeners like us.

