New raised vegetable garden planters – 2010
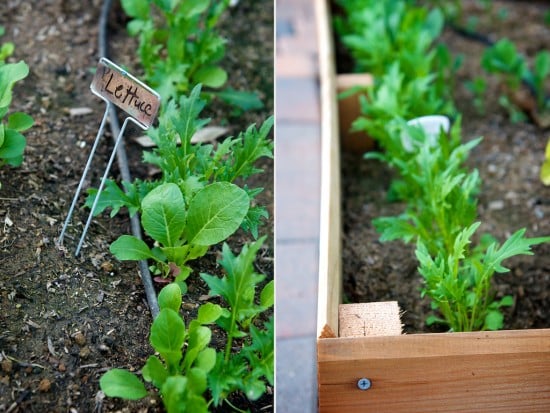
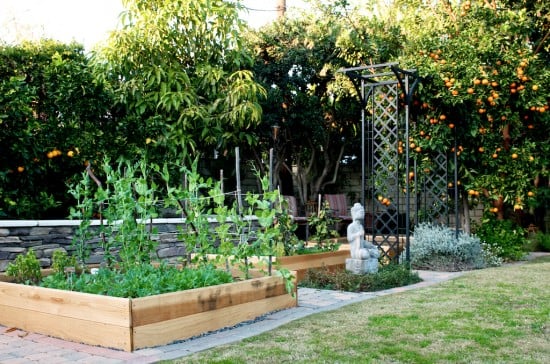 New raised garden beds with new seedings
Over the last couple years some of our vegetable plots have started to struggle. Initially we heavily amended our suffocating clay soil and were able to get some initial herb plantings to take off. Each spring we continued to amend and soften the soil and attempted to expand our cultivating repertoire to include various veggies. They did ok, but “thriving” wasn’t a term we’d use to describe them. The heavy soil was more than what the plants wanted to deal with.
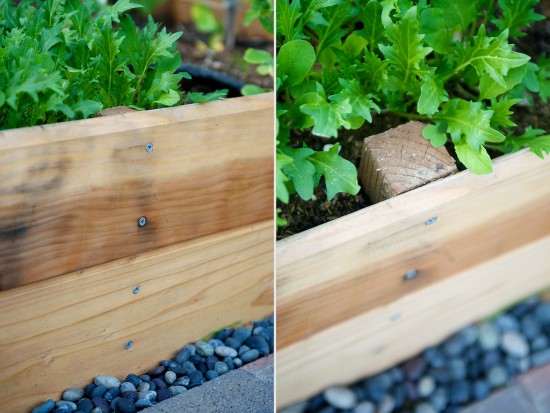
This past November, just before the non-stop holiday madness began, we decided to make those plots into raised planters and what a seriously huge improvement it’s been! For less than $100 in redwood and stakes, we were able to turn change over those plots. Now they’re raised and full of wonderful organic compost and virgin soil.
Luckily we are in Southern California and won’t have to wait until summer to see how the plants like the new soil. Our winter weather is more like most regions’ spring-time weather. Cool, days of rain, and the temperatures getting close to frost point at night but hopefully never hitting that low.
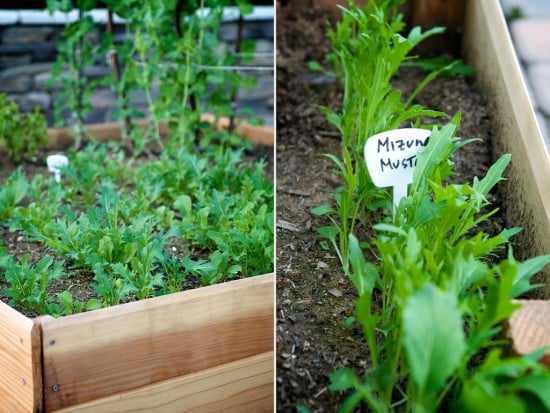
We’ve started out our raised planters with a bunch of seeds. Various lettuce, mizuna, broccoli, carrots, sugar snaps, snow peas, Japanese leeks (negi), fluffy top Chinese cabbage, soy beans, brussells sprouts, and probably a couple other things that we’ve forgotten to label. The fluffy soil and winter’s rains have jump started everything and the day in which we start harvesting won’t be far off. Very exciting!
In making our planters, we kinda did it from the seat of our pants. Ree over at Pioneer Woman has a much better tutorial than what we could offer, so go check it out here if you want to make your own beds.
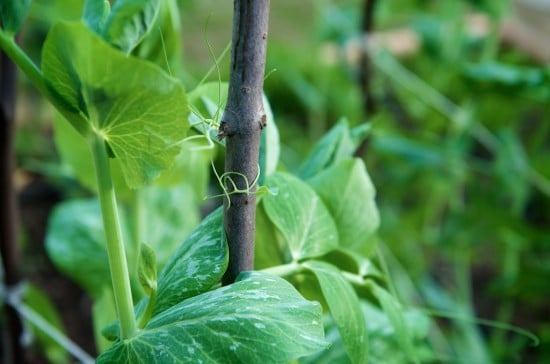
above: clinging pea tendrils and below: lettuce seedlings
**Those of you in the snow, don’t be jealous! Think of this as an inspiration for your own gardens in a couple of months. Your weather also provides you with growing opportunities that we don’t have here. Our apples and cherries suck compared to yours! Every area has its advantages.





i’ve already begun the process of planning out my raised beds, your post is just another kick in the butt to get me going! i hope to get mine in the ground very soon 🙂
Absolutely lovely! I’ve had a raised bed for years but whoever initially put it in seems to have just throw regular dirt into them, so I’ve had to amend them a lot over the years. As the dirt got better, the neighbors tree got bigger so now I struggle with less than adequate sunshine to grow a lot of the crops I used to love. Fortunately perennials thrive there so it’s become my herb garden and I love it just as much.
I also love seeing what others to do sustain growing their own…whatever; so thank you for sharing. Beautiful garden…and even though there is a slight pang of jealousy…I’m OK with six more weeks of recuperation before trying to kill myself with yard work!
Barbara- thanks for sharing more about your garden with us. Hope the neighbors trim some of their trees so that you can have more sunshine!
I love how you put down river rocks around your raised beds. Just because they’re vegetables doesn’t mean they shouldn’t be pretty!
Opps try this link
http://www.kitazawaseed.com/index.html
jay- thanks for the link. As you can see, we already added you as a resource on our sidebar.
Good looking garden! I have made some raised beds from recycled pallets and some with fencing wood like yours. At first I thought the pallet bed was kind of ghetto but it turned out kind of rustic! It works fine as a bed for my bunching onions.
Any way, great little blog site you have! I just discovered it and like it a lot! Want to share my favorite Asian seed catalog with you. You may already know them Kitazawa?
Looks great!
Can you please share with us where you purchased your redwood? Our three boxes from last summer cost us about $500 ($50-$60 per board, if I remember correctly). Did Home Depot rip us off?!?!?!?!
[K]
Hi Kim. We got them at the same place you did (Home Depot) but ours were a different board. The ones we used are most likely much thinner than the boards you bought (at least that is our best guess.) The redwood we bought was about a 1/2″ thick, pre-groved fencing panel. Hopefully we didn’t make a mistake by going so thin, but we can always replace and rebuild if necessary. $50-60 per board does sound high, but there are many variable that go into the pricing of lumber.